- Home
- Articles | Microsoft
- Windows XP Clean Install
Windows XP Clean Install For Home Computer Users
Stephen Harrison B.Sc. (Hons), M.Sc., MBCS, CITP
Windows XP Clean Install is the second of a four part series on how to install the legacy Windows operating system (Home Edition) on a new computer or hard disk.
IMPORTANT NOTICE
Windows XP has gone End of Life (EOL) on April 8th 2014. This means no further security patches or updates for this Operating System. My advice is to move to the latest operating system version as soon as possible
Keep up with the latest news and developments
Sign up to the eComputerZ Newsletter
The free A to Z of performing BIOS updates guide that anyone can follow.
✔ A checklist of important actions to perform throughout the update process.
✔ Further supporting information to aid your update plans.
✔ My unique approach for sourcing the latest BIOS versions for any motherboard manufacturer.
Sign up below for instant access to the guide, or by going to the Subscription page for more details.
I never share information with third parties and your details are secure.
I aim to issue newsletters at the start of each month.
Microsoft Windows XP is still a very popular operating system, with lots of home computer users continuing to use it every day.
This part of the tutorial looks at the second batch of decision you need to make during the installation process.
Part One talks you through the initial prerequisite choices at the start of the installation process.
Part Three walks you through further choices you must make towards the end of the installation process.
Part Four walks you through the final steps of the installation process, and suggests further tasks to complete before installing your applications.
Contents
How To Install XP Part 1 Recap
The How To Install XP tutorial talks you through the prerequisite considerations before beginning the installation process, such as obtaining the original Windows XP install CD and backing up your files.
The next steps in part one talks you through how to boot from CD and discusses a little about the Windows XP Licence Agreement.
We look at the steps to Create and Format partitions. These steps are optional, as most home computers users simply select an existing partition, particularly when undertaking a re-install of Windows XP.
The steps below show you what happens next in the installation process, completing the initial text based prerequisite tasks:-
Pre-Installing Windows Steps
At the end of part one, your computer has completed the first steps of the installation process and rebooted.
After the first reboot, the familiar Windows XP Home Edition splash screen appears for the first time.
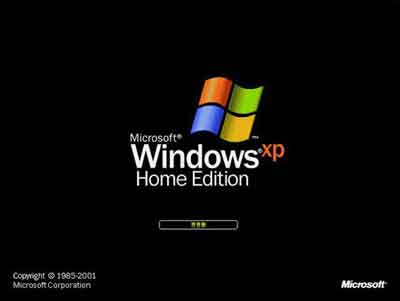 Windows XP Clean Install
Splash Screen
The Windows installation process new begins in Ernest! The process can take anywhere between 30 minutes to over an hour.
Factors such as the hardware specification of your machine influences the time it takes to complete the Operating System install.
This stage of the process begins with the Collecting Information step. This is where the process collects relevant information to confirm your machines eligibility to proceed with the installation.
The Dynamic Update step is an option to instruct the installation process to connect to the Internet and download any updated installation files released since your XP CD was published.
The dynamic update option only appears if you are performing an upgrade.
The Preparing Installation step estimates how much time it takes to complete the install. Then all the setup files are copied from your CD to your machine's hard disk. Your computer then restarts.
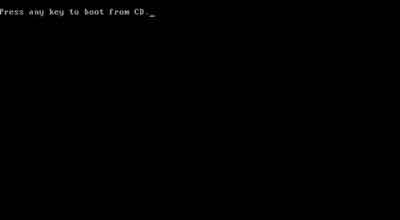
As you still have your Windows XP install CD inserted in the CD/DVD drive, you will be prompted to Press Any Key To Boot From CD....
 Windows XP Clean Install
Boot from CD
Do Not Press Any Keys On Your Keyboard! This ensures your new XP install continues without interruption.
A second reboot occurs when the remaining setup files are copied from your CD to your machine's hard disk. Again, do not press any keys on your keyboard!
After the last restart, the Installing Windows stage begins.
Return to the Table of Contents
Installing Windows
This is where things start to get interesting!
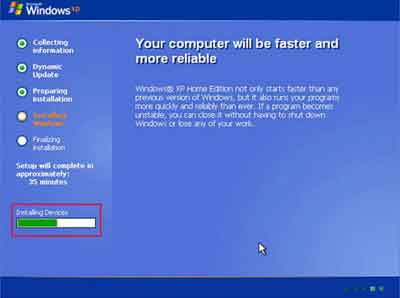
Current activity is displayed above the green progress bar. For example, "Installing Devices" is where drivers for your computers hardware is being installed.
Your screen may flicker when the video card driver is installed:-
 Windows XP Clean Install
Installing Devices
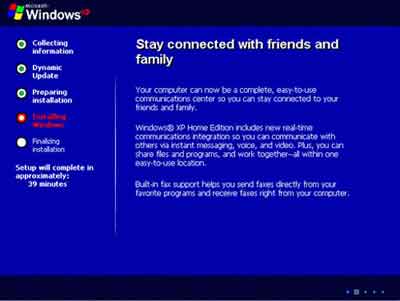
A mix of marketing messages appear on your screen whilst the Operating System files are installed.
Each message informs you about the different benefits you will experience by using Windows XP.
Grab yourself a drink and a sandwich. This step could take a while:-
 Windows XP Clean Install
Stay Connected With Friends And Family
- The first decision to make is your Regional And Language Options.
- If you are not American, left-click Customize..., then the Current Format: drop-down menu to change to an alternative region. Click OK then Next to continue.
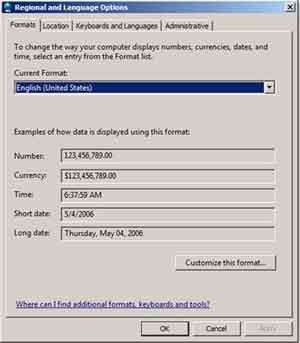 Windows XP Clean Install
Regional And Language Customize Options
- The Personalize Your Software screen gives you the option to enter your Name and Organization.
Here I enter my Full Name, and for the Organization field, I usually enter something like At Home to signify it is a home computer.
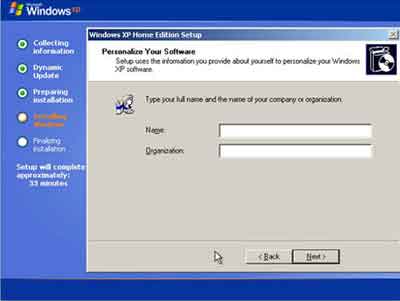 Windows XP Clean Install
Personalize Your XP Software
- This is the stage where you enter your Windows XP Key Code (Your Product Key). Ensure you enter it correctly, or it will think you have an invalid licence code.
If you don't have a valid Windows XP Home Product Key, you will not be able to continue with the installation process.
If you have a bogus licence key, or a cheap key bought off eBay, it won't last 5 minutes before Microsoft tracks you down and disables your copy.
- What's Your Computer's Name? Here you enter an appropriate name for your computer.
I tend to enter names such as Front_Room or Kids_Room to denote where the computer is located.
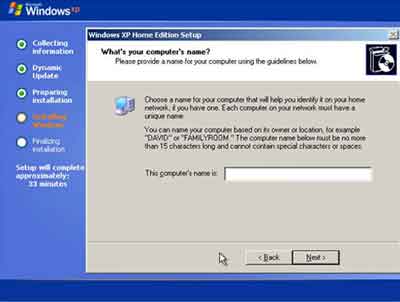 Windows XP Clean Install
What's Your Computer's Name?
- The Date And Time Settings is picked up from your Computer's BIOS. Use the drop-down menu's to make any changes you require.
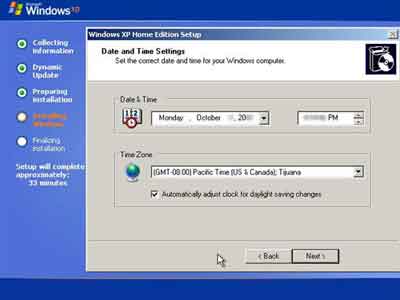 Windows XP Clean Install
Date And Time Settings
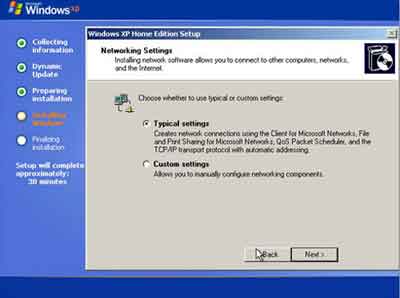
- Typical Settings is selected in most circumstances for your default Network Settings.
 Windows XP Clean Install
Network Settings
Return to the Table of Contents
Windows XP Clean Install | Final Thoughts
OK. This concludes the Windows XP Clean Install tutorial. For an excellent article on how to install Windows XP Professional take a look at the Petri tutorial. Part Three of the tutorial series concludes the installation process.
- Home
- Articles | Microsoft
- Windows XP Clean Install
